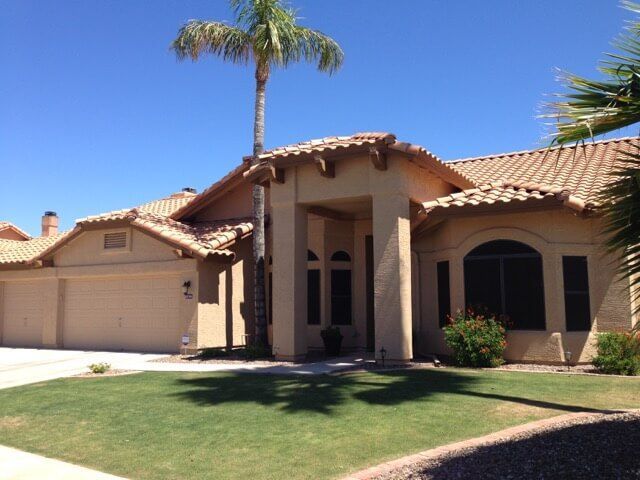
TILE ROOFS
Is your tile roof currently leaking? Is your roof 15 years old or more? Contact us today for a free roofing underlayment analysis of your home in the greater Phoenix area.
Tile roof underlayment is a vigorous process, one which we take pride in because we take care of your roof and home every step of the way. Remember, we don’t ask for payment until the job is done and you are 100% satisfied with the underlayment job we have provided.
Click the logos below to view styles & colors.

View Boral Tile Styles & Colors

View Eagle Tile Styles & Colors
Do You Have General Questions About Tile Roofing?
Most general questions about tile roofing can be answered at the Tile Roofing Institute website. Click here to visit the Tile Roofing Institute's website.

Step 1
Locate Secure Area on Property for Material.


Step 2
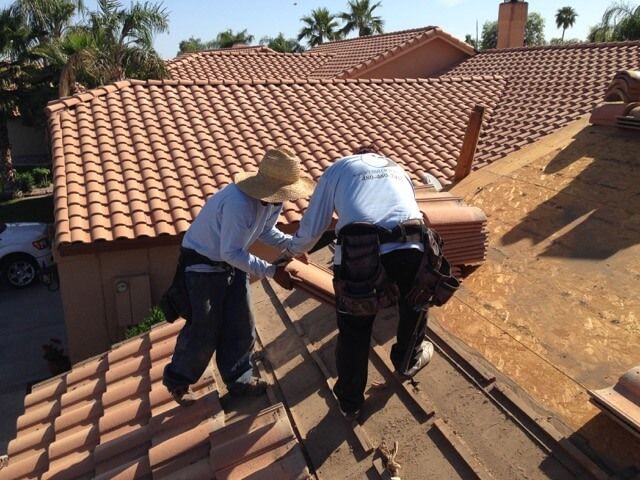
Remove Tiles by Section, Haul Away Old Felt & Battens.
Step 3
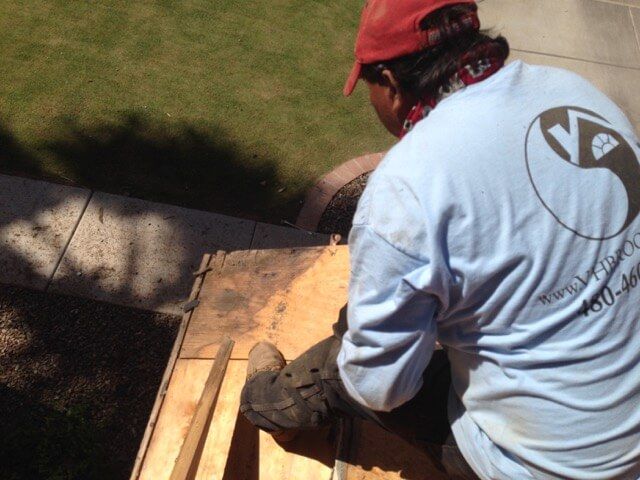
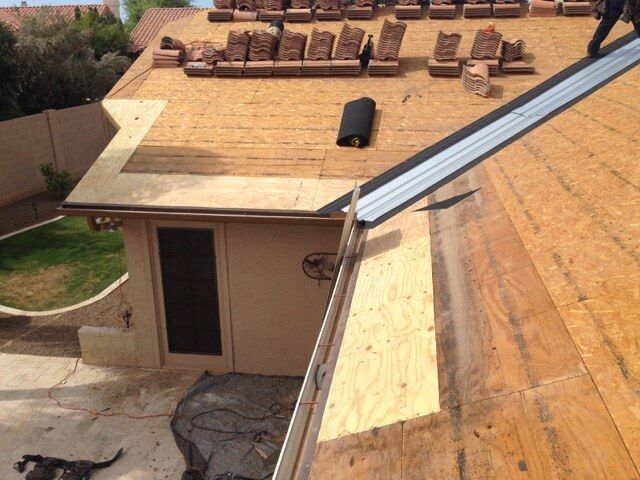
Inspect Roof Decking & Fascia, Replace as Needed.
Step 4
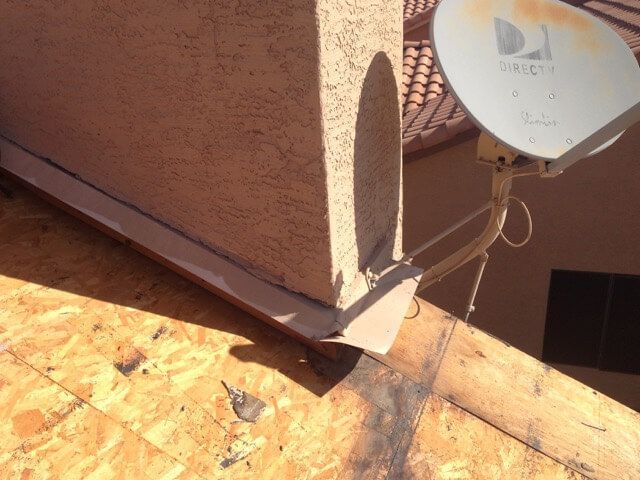
Check All Flashing, Vents and Rooftop Penetrations. Repair - Replace as Needed. Install New Valley Metal.
Step 5
Install Extra Support at High Flow Areas.
Step 6
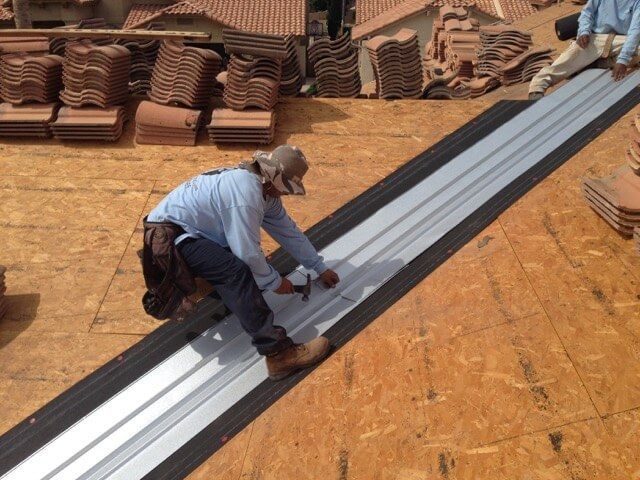
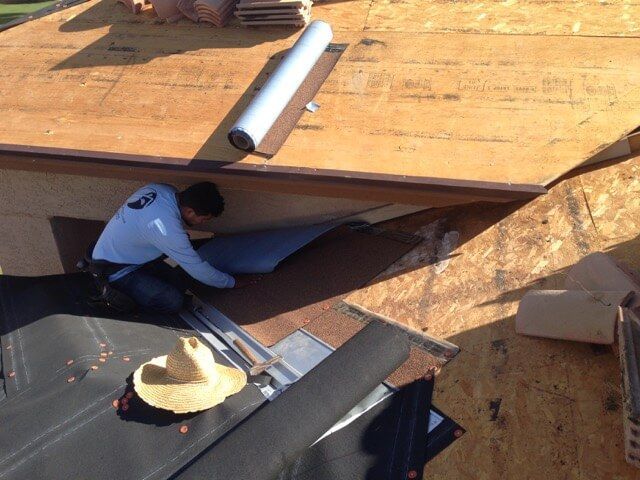
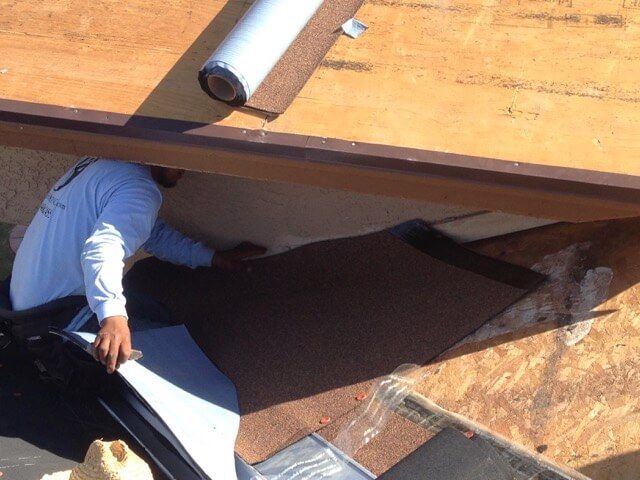
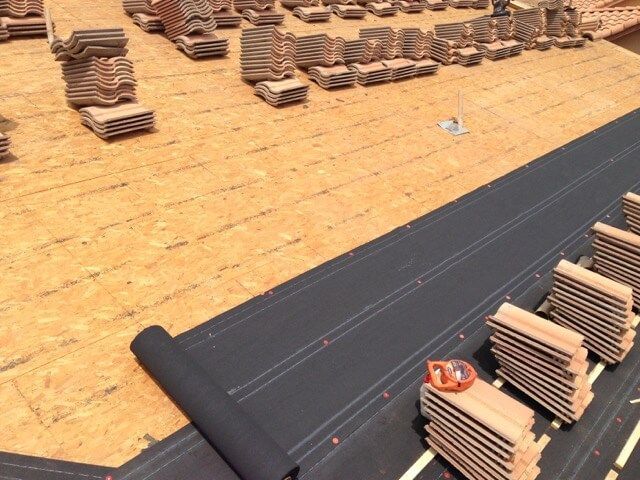
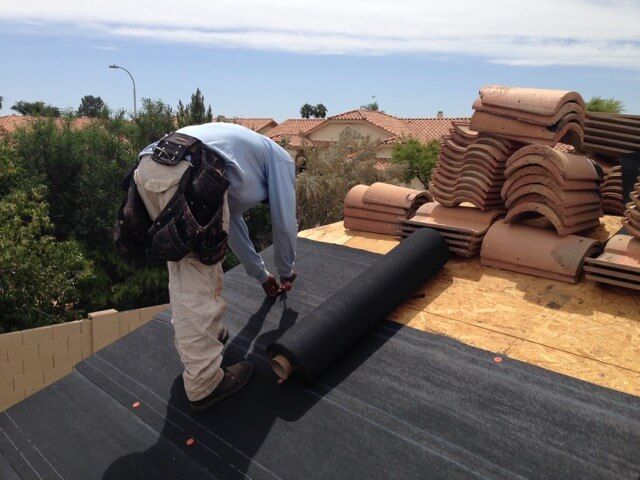
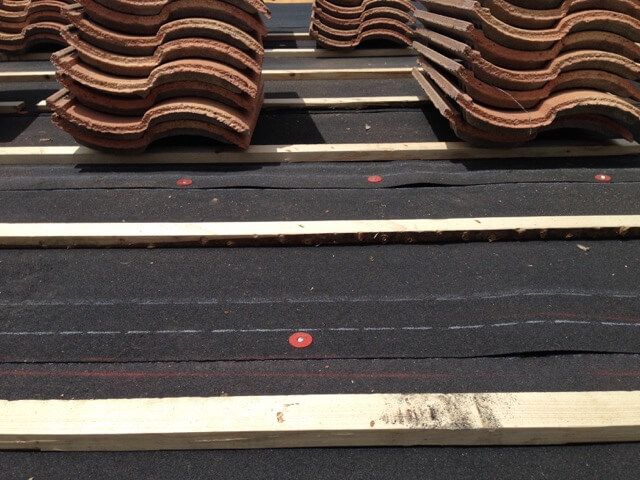
Install New Underlayment at Roof Decking.
Step 7
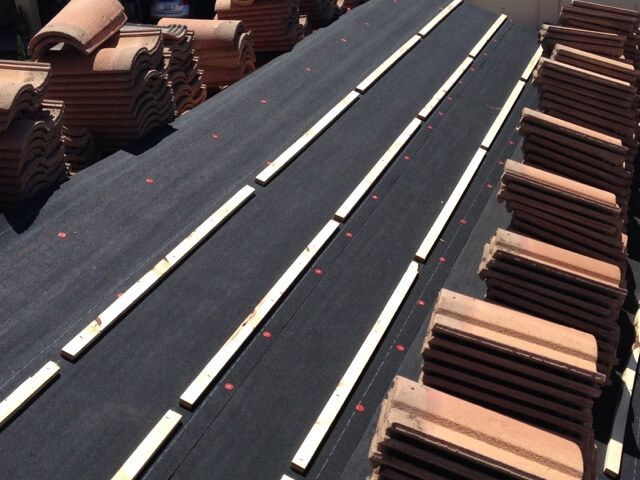
Install 1x2 Wood Battens. Used to Secure Tile.
Step 8
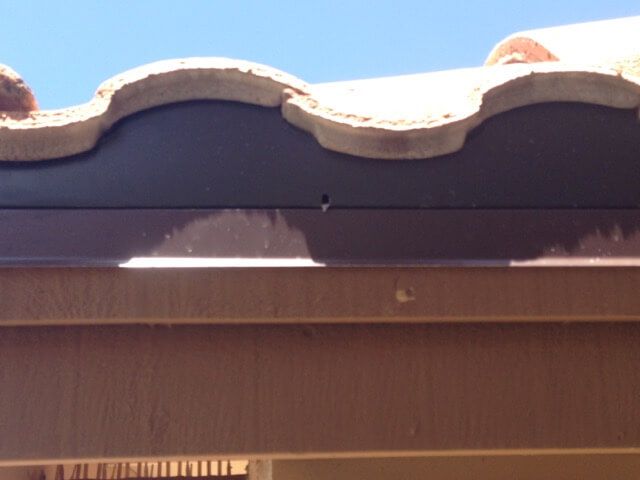
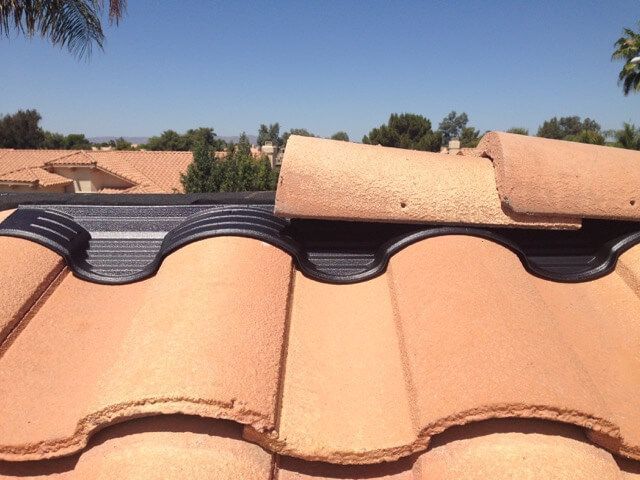
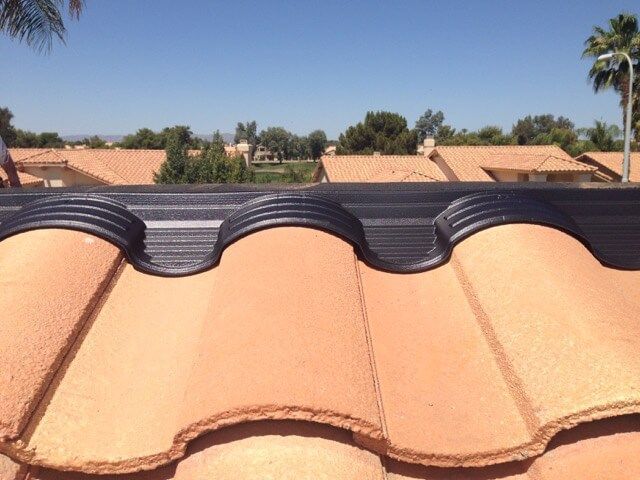
Install Drip Edge Metal & Bird Stop or Eave Riser

Step 9
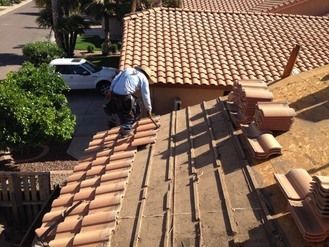
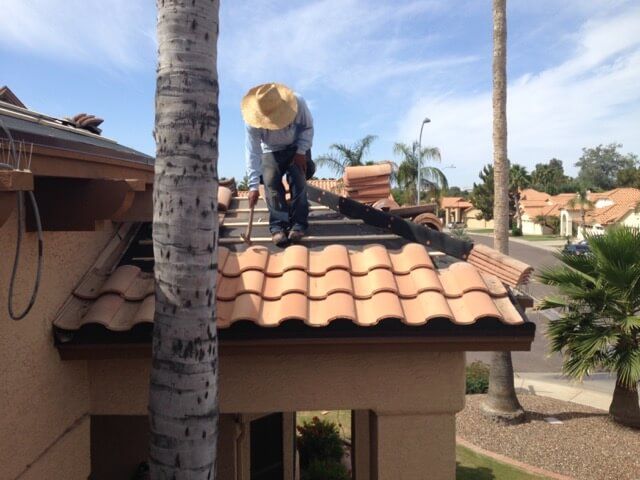
Reset Field Tiles
Step 10
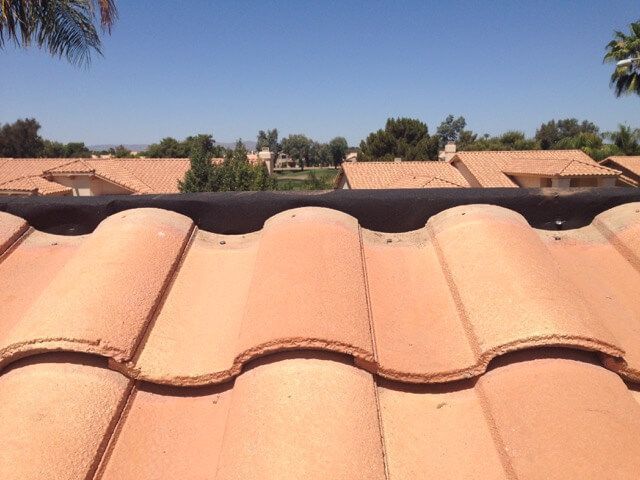
Install Hip & Ridge Closure and Cap Tiles
Step 11
Clean All Roofing Debris From Rooftop and Property Grounds